Shooting a Timelapse Video: A Comprehensive Guide
Photography as a craft has undergone tremendous changes over the decades, yet the touch of creativity remains timeless. One of the most captivating forms emerging from this evolution is timelapse videography. Whether you’re aiming to showcase the essence of nature, the vibrancy of urban life, or the slow transformation of a space, mastering the art of shooting a timelapse video will take your skills to new heights. In this guide, we'll delve deeply into the secrets of shooting a timelapse video that stands out, focusing on practical techniques, equipment, and post-processing tips.
Understanding Timelapse Videos
A timelapse video is a series of photographs taken at set intervals to record changes that take place slowly over time. When these frames are played back at a normal speed, time appears to be moving faster. This technique effectively compresses hours or even days of footage into a few stunning seconds.
Applications of Timelapse Videos
Timelapse videos are versatile and can be utilized in various fields, including:
- Real Estate Photography: Showcase the transformation of a property, such as renovations or staging, to entice potential buyers.
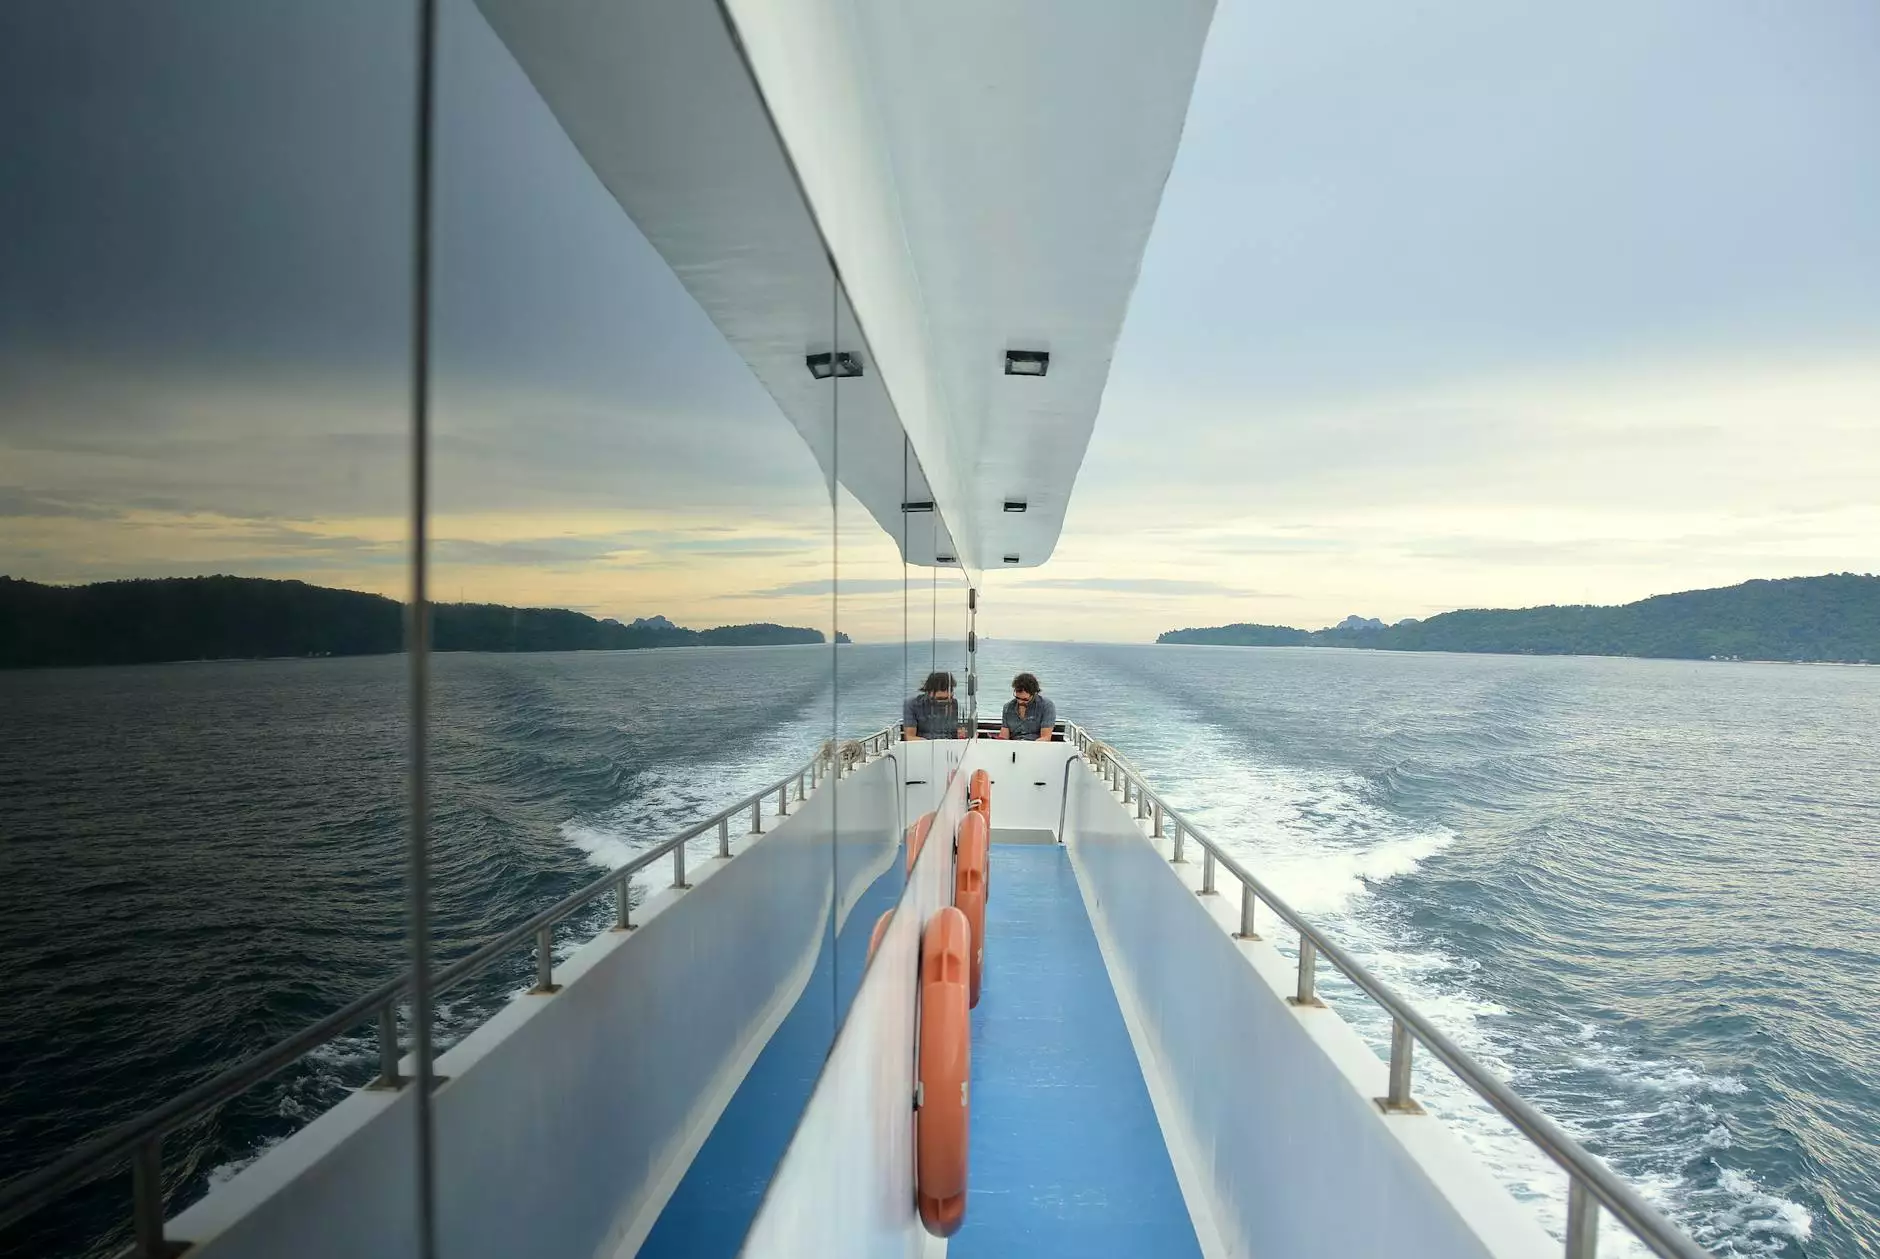
- Nature and Landscape Photography: Capture the changing of seasons, blooming flowers, or sunset to depict the beauty of the natural world.
- Cityscapes and Urban Life: Document the hustle and bustle of city life or the slow shift of day into night.
- Creative Projects: Develop personal projects that tell a story through the passage of time.
Essential Equipment for Shooting a Timelapse Video
Before you embark on your adventures in timelapse photography, it’s crucial to have the right tools at your disposal. Here’s a detailed look at what equipment you will need:
1. Camera
Your camera is the heart of your timelapse project. While both DSLR and mirrorless cameras work exceptionally well, consider:
- Image Quality: Look for cameras with high resolution to ensure crisp, clear images.
- Manual Settings: A camera that allows for manual control over exposure settings will give you better results.
2. Tripod
A sturdy tripod is crucial for shooting timelapse videos. It ensures that your camera remains stable throughout the shooting process, preventing unwanted shakes. Choose a tripod that can support the weight of your camera comfortably.
3. Intervalometer
An intervalometer is a device or setting in your camera that controls the interval at which photos are taken. This tool is essential for shooting a timelapse video, as it allows you to specify how frequently you want your camera to capture images.
4. Editing Software
Post-production is where your timelapse truly comes alive. Use editing software such as Adobe Premiere Pro, Final Cut Pro, or even dedicated apps like Timelapse Tool to stitch your photos together, adjust the speed, and enhance your footage.
Techniques for Shooting a Timelapse Video
Understanding the mechanics of shooting a timelapse video is vital to producing stunning visuals. Below are some essential techniques to keep in mind:
1. Choosing the Right Scene
The scene you choose to capture is fundamental. Look for subjects that demonstrate noticeable change over time. Popular options include:
- Sunrise and sunset
- Cloud movements
- Construction sites
- Flower blooming or wilting
2. Setting Your Camera
When you’re setting your camera for shooting a timelapse video, consider the following:
- Aperture: A smaller aperture (higher f-stop number) increases depth of field, ensuring more of your image is in focus.
- Shutter Speed: Use a shutter speed fast enough to prevent motion blur but slow enough to capture color and detail.
- ISO Settings: Keep your ISO low to minimize noise, especially in low-light conditions.
3. Determining the Interval
The interval between shots is crucial. The interval depends on the subject’s speed of change. For example:
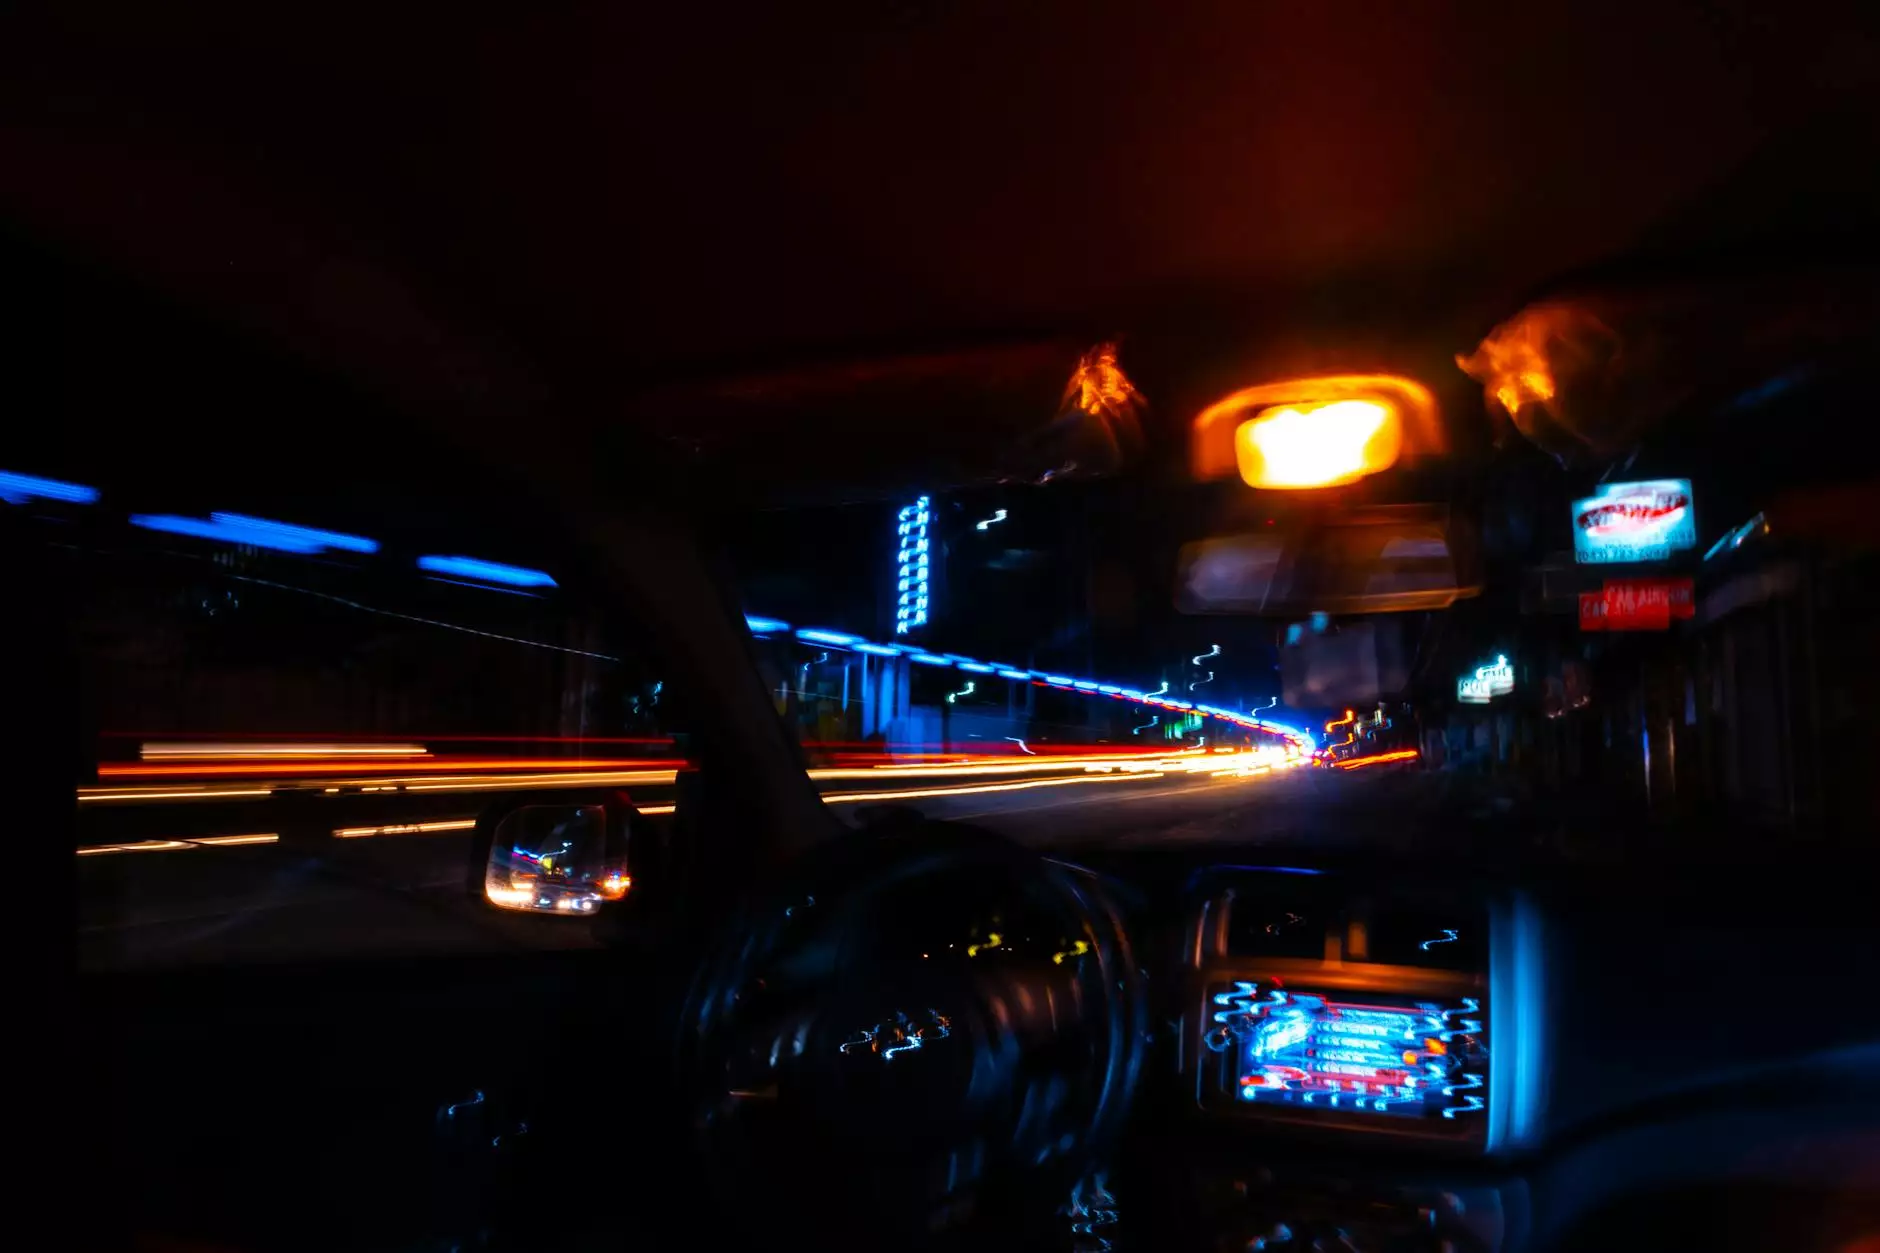
- For fast-moving scenes like traffic, it may be suitable to take a shot every 1-2 seconds.
- For slower changes, such as the transition of seasons, you might wait several minutes or even hours between shots.
4. Plan for Duration
Plan how long you intend to shoot. If you aim to capture a full day in a few seconds of playback, be aware of your camera’s storage and battery life. Ensure that you have ample memory cards and battery packs.
5. Consider Lighting Conditions
As lighting changes throughout the day, be prepared to adjust your settings. Using a neutral density filter allows you to maintain consistent exposure in bright conditions, achieving more dramatic effects such as smooth motion with slow-moving clouds.
Post-Processing Your Timelapse Video
Once you’ve captured your timelapse footage, the next step is post-processing, which can make or break your final video. Follow these steps for an effective editing process:
1. Importing Your Images
Start by importing all your images into your editing software. Ensure they are in the correct sequence. Most software will allow you to bulk import and sequence automatically.
2. Creating the Timelapse
Set the duration for which each image will display. A common frame rate for timelapse videos is 24 or 30 frames per second. Adjust the duration of each frame to meet your desired playback speed.
3. Color Correction
Applying color correction can significantly enhance the visual appeal of your timelapse. You can adjust the color balance, contrast, and brightness to help bring your images to life.
4. Adding Sound
Incorporate a suitable soundtrack to complement your visuals. A moving piece of music can evoke emotions and enhance the storytelling aspect of your timelapse video.
5. Exporting Your Video
Finally, export your timelapse video in the desired format. Consider the platform on which you’ll be sharing it, as different platforms may have specific requirements for video format and dimensions.
Tips for an Outstanding Timelapse Video
To set your timelapse video apart, consider the following tips:
1. Stability is Key
Use a robust tripod and ensure it is safely set on flat ground to avoid unnecessary movement.
2. Experiment with Angles
Don't hesitate to try different angles and perspectives. A unique viewpoint can differentiate your work and make the ordinary seem extraordinary.
3. Combine Techniques
Experiment with shooting some portions in regular speed and interspersing them with timelapse shots for dramatic effect.
4. Include a Storyline
A timelapse video with a narrative or theme attracts viewer engagement. Craft a story around your visuals, enhancing their emotional impact.
Conclusion
In summary, the art of shooting a timelapse video is both a technical skill and a creative one. By understanding your equipment, using appropriate techniques, and perfecting your post-production skills, you’ll be well on your way to creating stunning timelapse footage that captivates and inspires. Use this knowledge to resonate with your audience, whether in the realms of real estate photography, or creative visual storytelling. With dedication and practice, you can distinguish your work and truly embrace the beauty of time in motion!